Showing posts with label Accent Essentials. Show all posts

Thursday, June 23, 2011

My Creative Time Sneak Peek #3


It's our last day of sneak peeks before the big reveal tomorrow! Be sure to head over to My Creative Time at 8 AM PST to see Emma's new stamps sets in their entirety! Today I'm showcasing the "Honey Do List" stamp set. Don't you just love this BIG clipboard? Just wait until you see all of the other words that come with it. I found it just perfect for journaling on my layout.


I'm trying to challenge myself with using more sketches, since I find them very intimidating. Jana Eubank, who is a very talented member of the Cricut Circle and Cricut Blogs' design teams has a whole blog dedicated to sketches! I used this one for my layout today.


For my title, I used my Gypsy to weld together 1 1/2" letters from Boys Will Be Boys. The badges are from Campin' Critters, cut at 2 and 2 1/2". The circle is cut at 10 1/2" from Mini Monograms, and the topnote shape is cut at 5" from Accent Essentials.


Don't forget, if you leave a comment on the sneak peek posts made by me, Emma, and the rest of the design team this week, you'll be eligible to win a new release stamp set of your choice! Tweet or share about My Creative Time's "7th Edition Stamp Release" happening this Friday @ 8 AM PST on Facebook for even more chances. To see all of the sneak peeks so far, visit My Creative Time.

Recipe:

Recollections Kraft Cardstock
DCWV "The Guy Stack" Patterned Paper
Papertrey Ink Dark Chocolate & Rustic Cream Cardstock
Core'dinations Cardstock
ekSuccess Circles Large Edger Punch
My Creative Time "Honey Do List" Stamp Set
Papertrey Ink Dark Chocolate & Scarlet Jewel Ink
Cuttlebug "Swiss Dots" Embossing Folder
Sakura White Gelly Roll Pen
Versa Magic Jumbo Java Chalk Ink

Wednesday, February 2, 2011

Valentine Heart Tree


My mom has had this silver tree for years, but she decided that she didn't want it anymore. She kept the ornaments that came with it, but I gladly took the tree, thinking it could have many uses throughout the year. My first project with it is this Valentine heart tree that I made for my Creative Critterz Imaginations design team project.


All of my hearts were printed on the Imagine and cut at 3". For each one, I printed and cut the base and layers regularly and in the "flip horizontally" mode. In this way, I was able to create double sided-hearts.


I went through my Cricut cartridges and just picked hearts that I liked. I used the Accent Essentials, Martha Stewart Seasonal Cake Art, Sweethearts, and Doodlecharms Cricut Cartridges.


For the patterns, I chose the ones that I liked for Valentine's Day from the Imagine More, Lori's Garden, Imagine More Cards, and Best Friends Imagine cartridges.


Finally, I added some button accents on some of the hearts and used twine to attach all of them to the tree. Be sure to stop by Creative Critterz Imaginations to see all of the other projects that my teammates have created this week!

Recipe:

White Bazzill Cardstock
Papertrey Ink Rustic Cream Button Twine
Papertrey Ink Buttons
ColorBox Cat's Eye Chalk Ink

Wednesday, December 8, 2010

Holiday Planner

Today I'm sharing my project for Craft Junkie Too's Design Team. This week we were asked to share Christmas organization tips. Since I find myself with all sorts of lists stuffed into my purse at this time of year (gifts to buy, cards to send, thank you notes to write), I decided to make myself a little holiday planer. I used my new Your Story Photo and a 4" x 6" green book cover that came with it.

For the cover, I cut brown cardstock at 5 3/4" x 3 3/4" and layered it with a patterned paper cut at 5 1/2" x 3 1/2". The topnote is cut from Accent Essentials. I played around with my Gypsy to make a shadow. The white layer is 4.09" x 2.65", and the brown layer is 4.42" x 3.01". I also used some felt with a Papertrey Ink Die to accent my circle.

For the inside of my book, I make some lined pages by creating a template in Word and then running white cardstock through my printer and cutting it down to 4" x 6" sheets.

I made three sections for my planner: Cards, Gifts, and Thank Yous. For each one, I made a divider sheet with a 4" x 6" piece of brown cardstock, layered with a 3 3/4" x 5 3/4" piece of patterned paper. All of the elves are cut from Jolly Holidays at 3.5". The "cards" was made by welding together 1.88" letters from Gyspy Font.


Recipe
(all materials Papertrey Ink, unless otherwise specified)

Your Story Photo Cover
Dark Chocolate and Rustic White Cardstock
sei Christmas Mint Patterned Paper
Bazzill Basics Textured Cardstock
Limitless Layers 1 3/4" Circle Collection and Just the Ticket Dies
Holiday Button Bits, 2010 Holiday Tags, Just the Ticket, Through the Trees, Mega Mixed Messages, and Daily Design Sentiments Stamp Sets
Pure Poppy, Dark Chocolate, New Leaf, and Chamomile Ink
Pure Poppy Felt
Vintage Buttons
Pure Poppy Baker's Twine
Sakura White Gelly Roll Pen

Thanks for stopping by, and be sure to visit Craft Junkie Too today to learn some more organization tips from the rest of the design team! Also, stop by here again on Saturday to see the Your Story Photo in action again. I'll be part of the Your Story Photo Blog Hop!

Monday, June 21, 2010

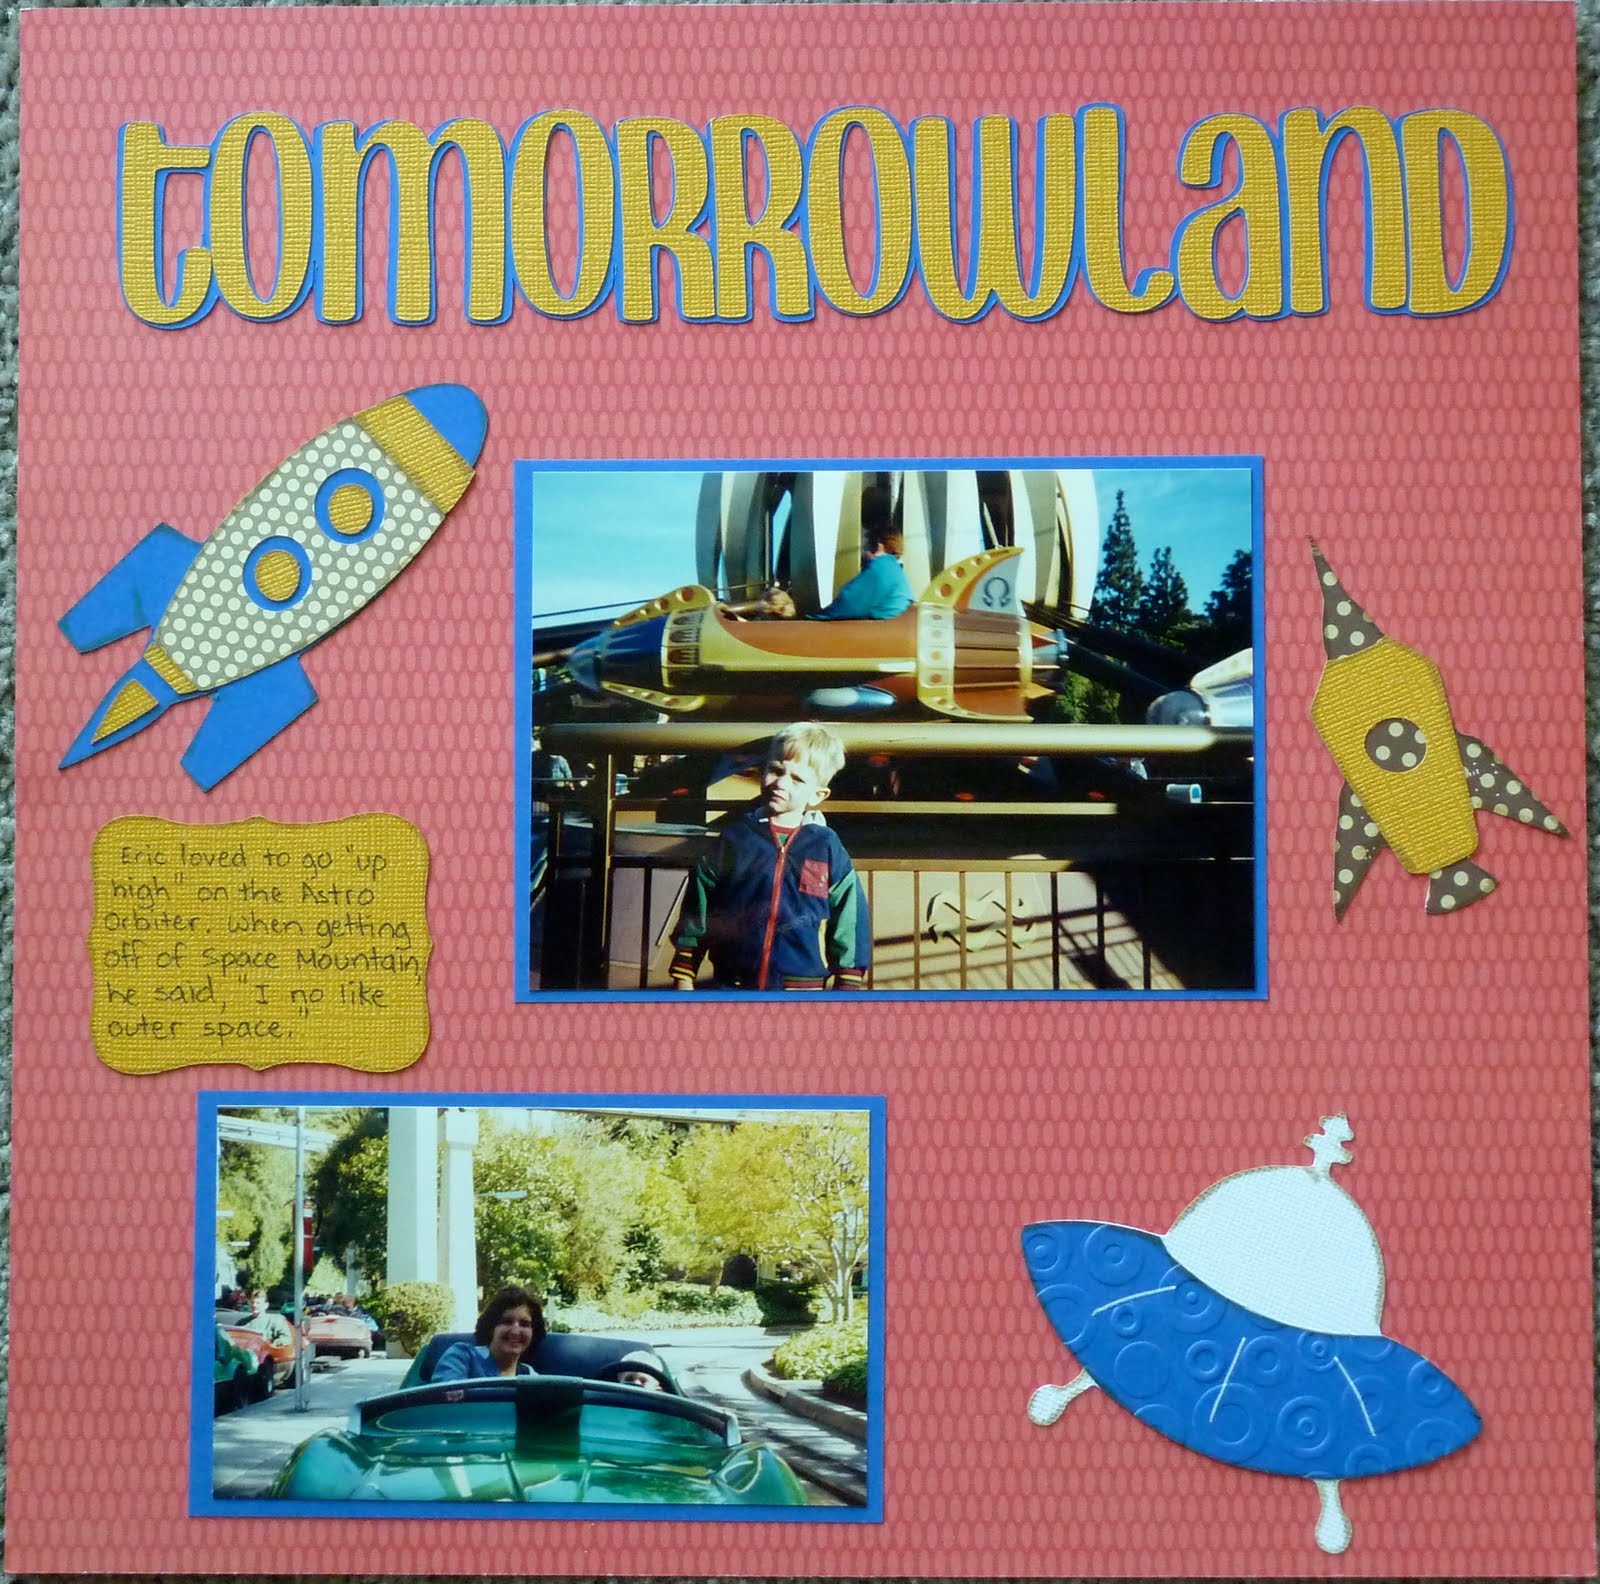
Tomorrowland Layout


Here is the second layout from our '99 Disneyland Trip. Eric's favorite ride, which we went on over and over, was the Astro Orbiter. He loved those rockets, so I tried to go with that theme. The background paper is from DCWV Summer Dream stack. The golden textured paper is Core'dinations. Solid cardstock is Recollections, and the polka dot papers are from Papertrey Ink.

Recipe:

"Tomorrowland" cut from Don Juan at 1.59" and shadowed
Rocket on the left cut from Just Because Cards at 7.82"
Rocket on the right cut from Everyday Paper Dolls at 3.12" (I cut it twice and cut the golden rocket down to use as a layer)
Spaceship from Everyday Paper Dolls at 3.12" (also cut twice and layered; blue layer was run through the Spots and Dots Cuttlebug folder)
Journaling Tag cut at 1.94" from Accent Essentials

Inked with Papertrey Ink Chai